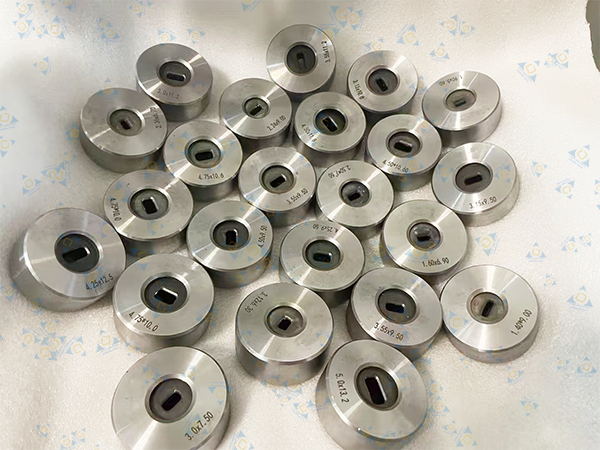
When customers order stainless steel flat wire hard alloy drawing dies, they must provide the die manufacturer with a complete and clear list of all core information (sorted by priority, including the bulging amount, dimensions, tolerances, etc. 
I. Core Flat Wire Product Parameters (Basic Premise)
1. Key dimensions of the finished flat wire: Length × Width accurate to 0.001mm; corner radius R (e.g., R0.1/R0.2, or specify sharp corners or the minimum R value if none); cross-sectional tolerance (e.g., ±0.01mm/±0.02mm, separately for length/width/diagonal/corner radius); surface roughness Ra (recommended Ra ≤ 0.2μm, specify the measurement surface).
2. Flat wire material and state: Grade (304/316L/201/321, etc.); original billet state (annealed / cold worked hardened); mechanical property requirements for the finished product (tensile strength, elongation, hardness); whether there are special testing requirements such as intergranular corrosion.
3. Bulging amount & springback amount (core process parameters, must be clearly specified): Provide the target bulging amount (e.g., 0.005-0.01mm, separately for length/width directions), springback amount (e.g., 0.003-0.008mm); explain the measurement conditions (room temperature / after drawing and aging); if there are empirical values, provide historical data for the manufacturer to verify.
Some customers only need the core inserts of the molds and will assemble the die sleeves by themselves. In such cases, they also need to inform us of the wire shrinkage rate for assembly. Only with this information can we proceed with the precise mold design.